


At Thanksgiving, we are grateful for the important things in life. And a good harvest.
But that's not all there is to it. To fully enjoy the fruits of your labor, they first need to be dried. The right approach — trimming through wet or dry trimming and the subsequent curing — rewards you with high-quality and flavorful herbs.
Wet Trim – After Harvest Comes Drying
With wet trimming, you remove the leaves right after cutting down your plant. At this stage, the fresh leaves are still soft and flexible. This makes it relatively easy to trim them manually with scissors. By generously cutting off the excess foliage — the sugar and fan leaves — right from the start, you remove water stored in those leaves. This can significantly shorten the drying time of your herbs. Additionally, this measure reduces the likelihood of mold formation!
Wet trimming is the right approach for you if you have limited space for drying your plants. Since you've already cut the bulk of the foliage beforehand, more of your plants will naturally fit in your drying setup.
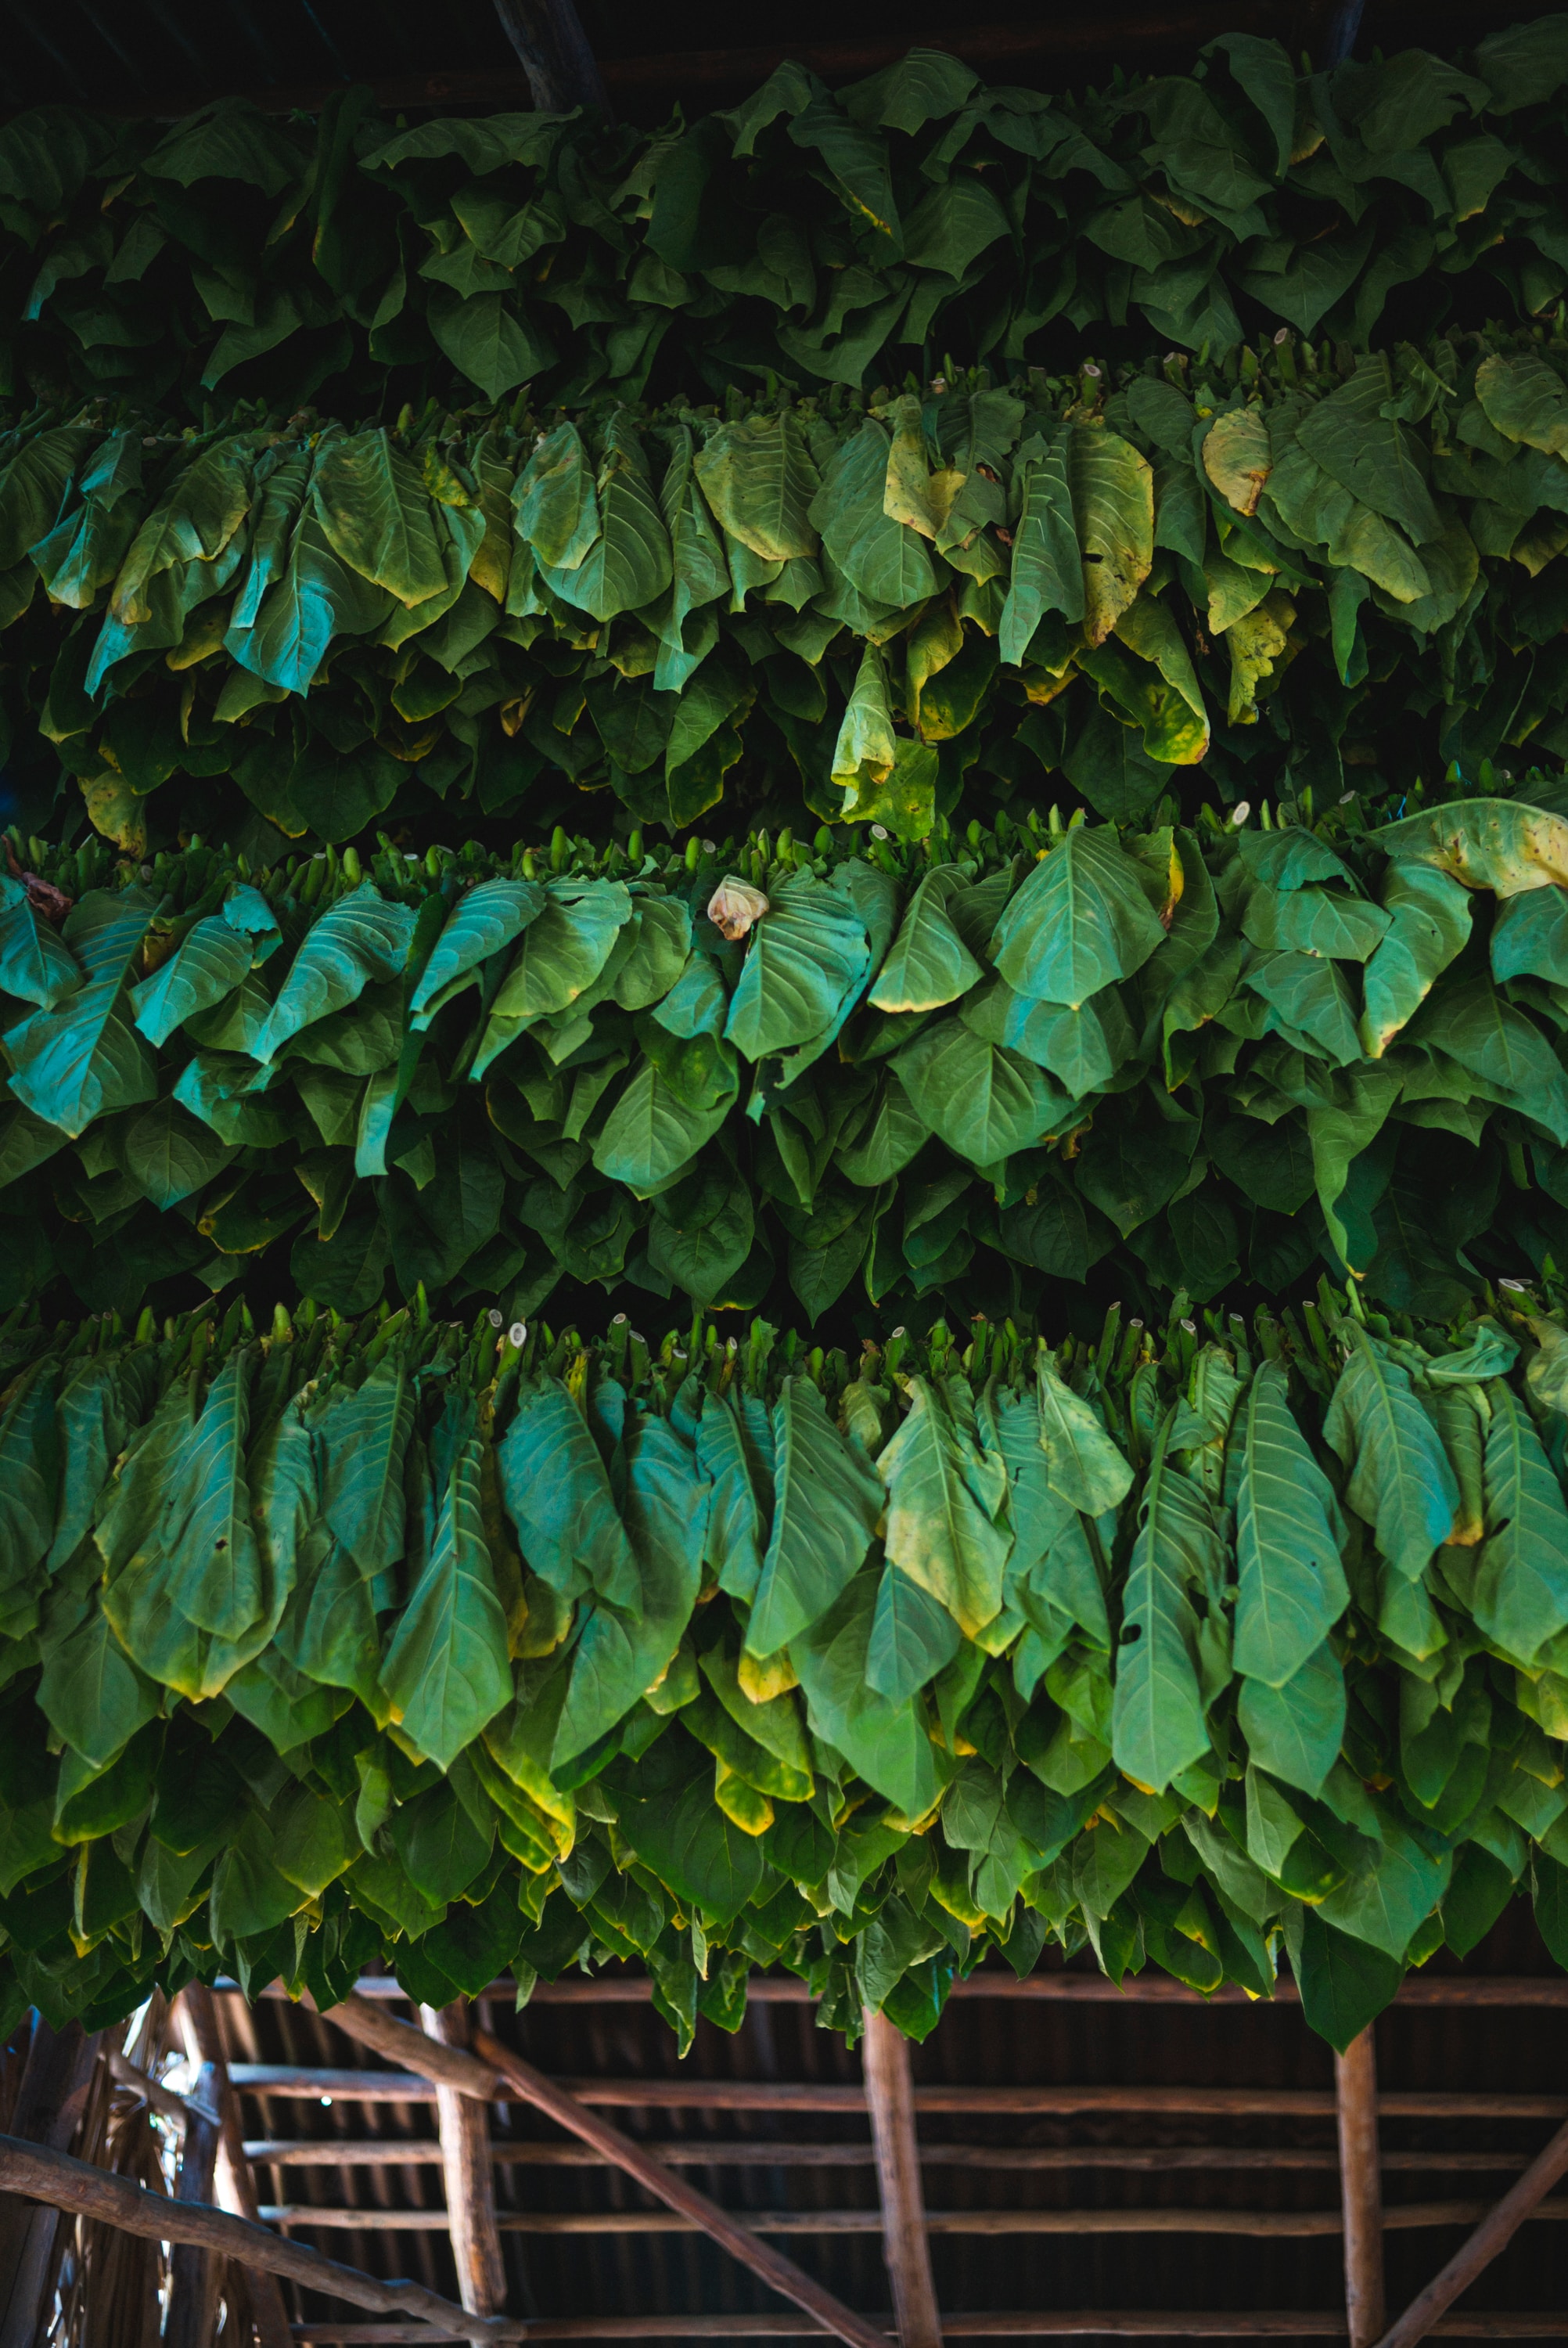
Drying: A Feel for Temperature and Humidity
It's best to hang the cut branches upside down in a drying room, with enough space between them. Alternatively, you can place them on a rack. However, with this method you should turn them regularly to prevent the plants from flattening. What else do your friends need to ripen properly?
Ideal Temperatures
Your friends like it cool. Make sure the room maintains temperatures between 18°C and 24°C, ideally 20°C during the drying process. Excessively high temperatures may speed up the duration but diminish the end result. Keep temperatures consistent and avoid major fluctuations. The air should move gently. For good air circulation in the room, you can also set up a small fan.
Optimal Humidity
Your drying room should have neither too dry nor too humid an atmosphere. Excessively high humidity can increase the risk of mold formation, while too low humidity can cause the plants to dry too quickly and not develop their full aroma. Humidity — and temperature too — can vary depending on the plant specifications. However, your friends feel comfortable in a range between 45% and 55% relative humidity.
Pro tip: If you're having trouble with the humidity setup, you can get some help at home. Hygro-Packs from Boveda help you with moisture control in the room.
Darken your drying room and give your plants about 10 to 14 days to dry.
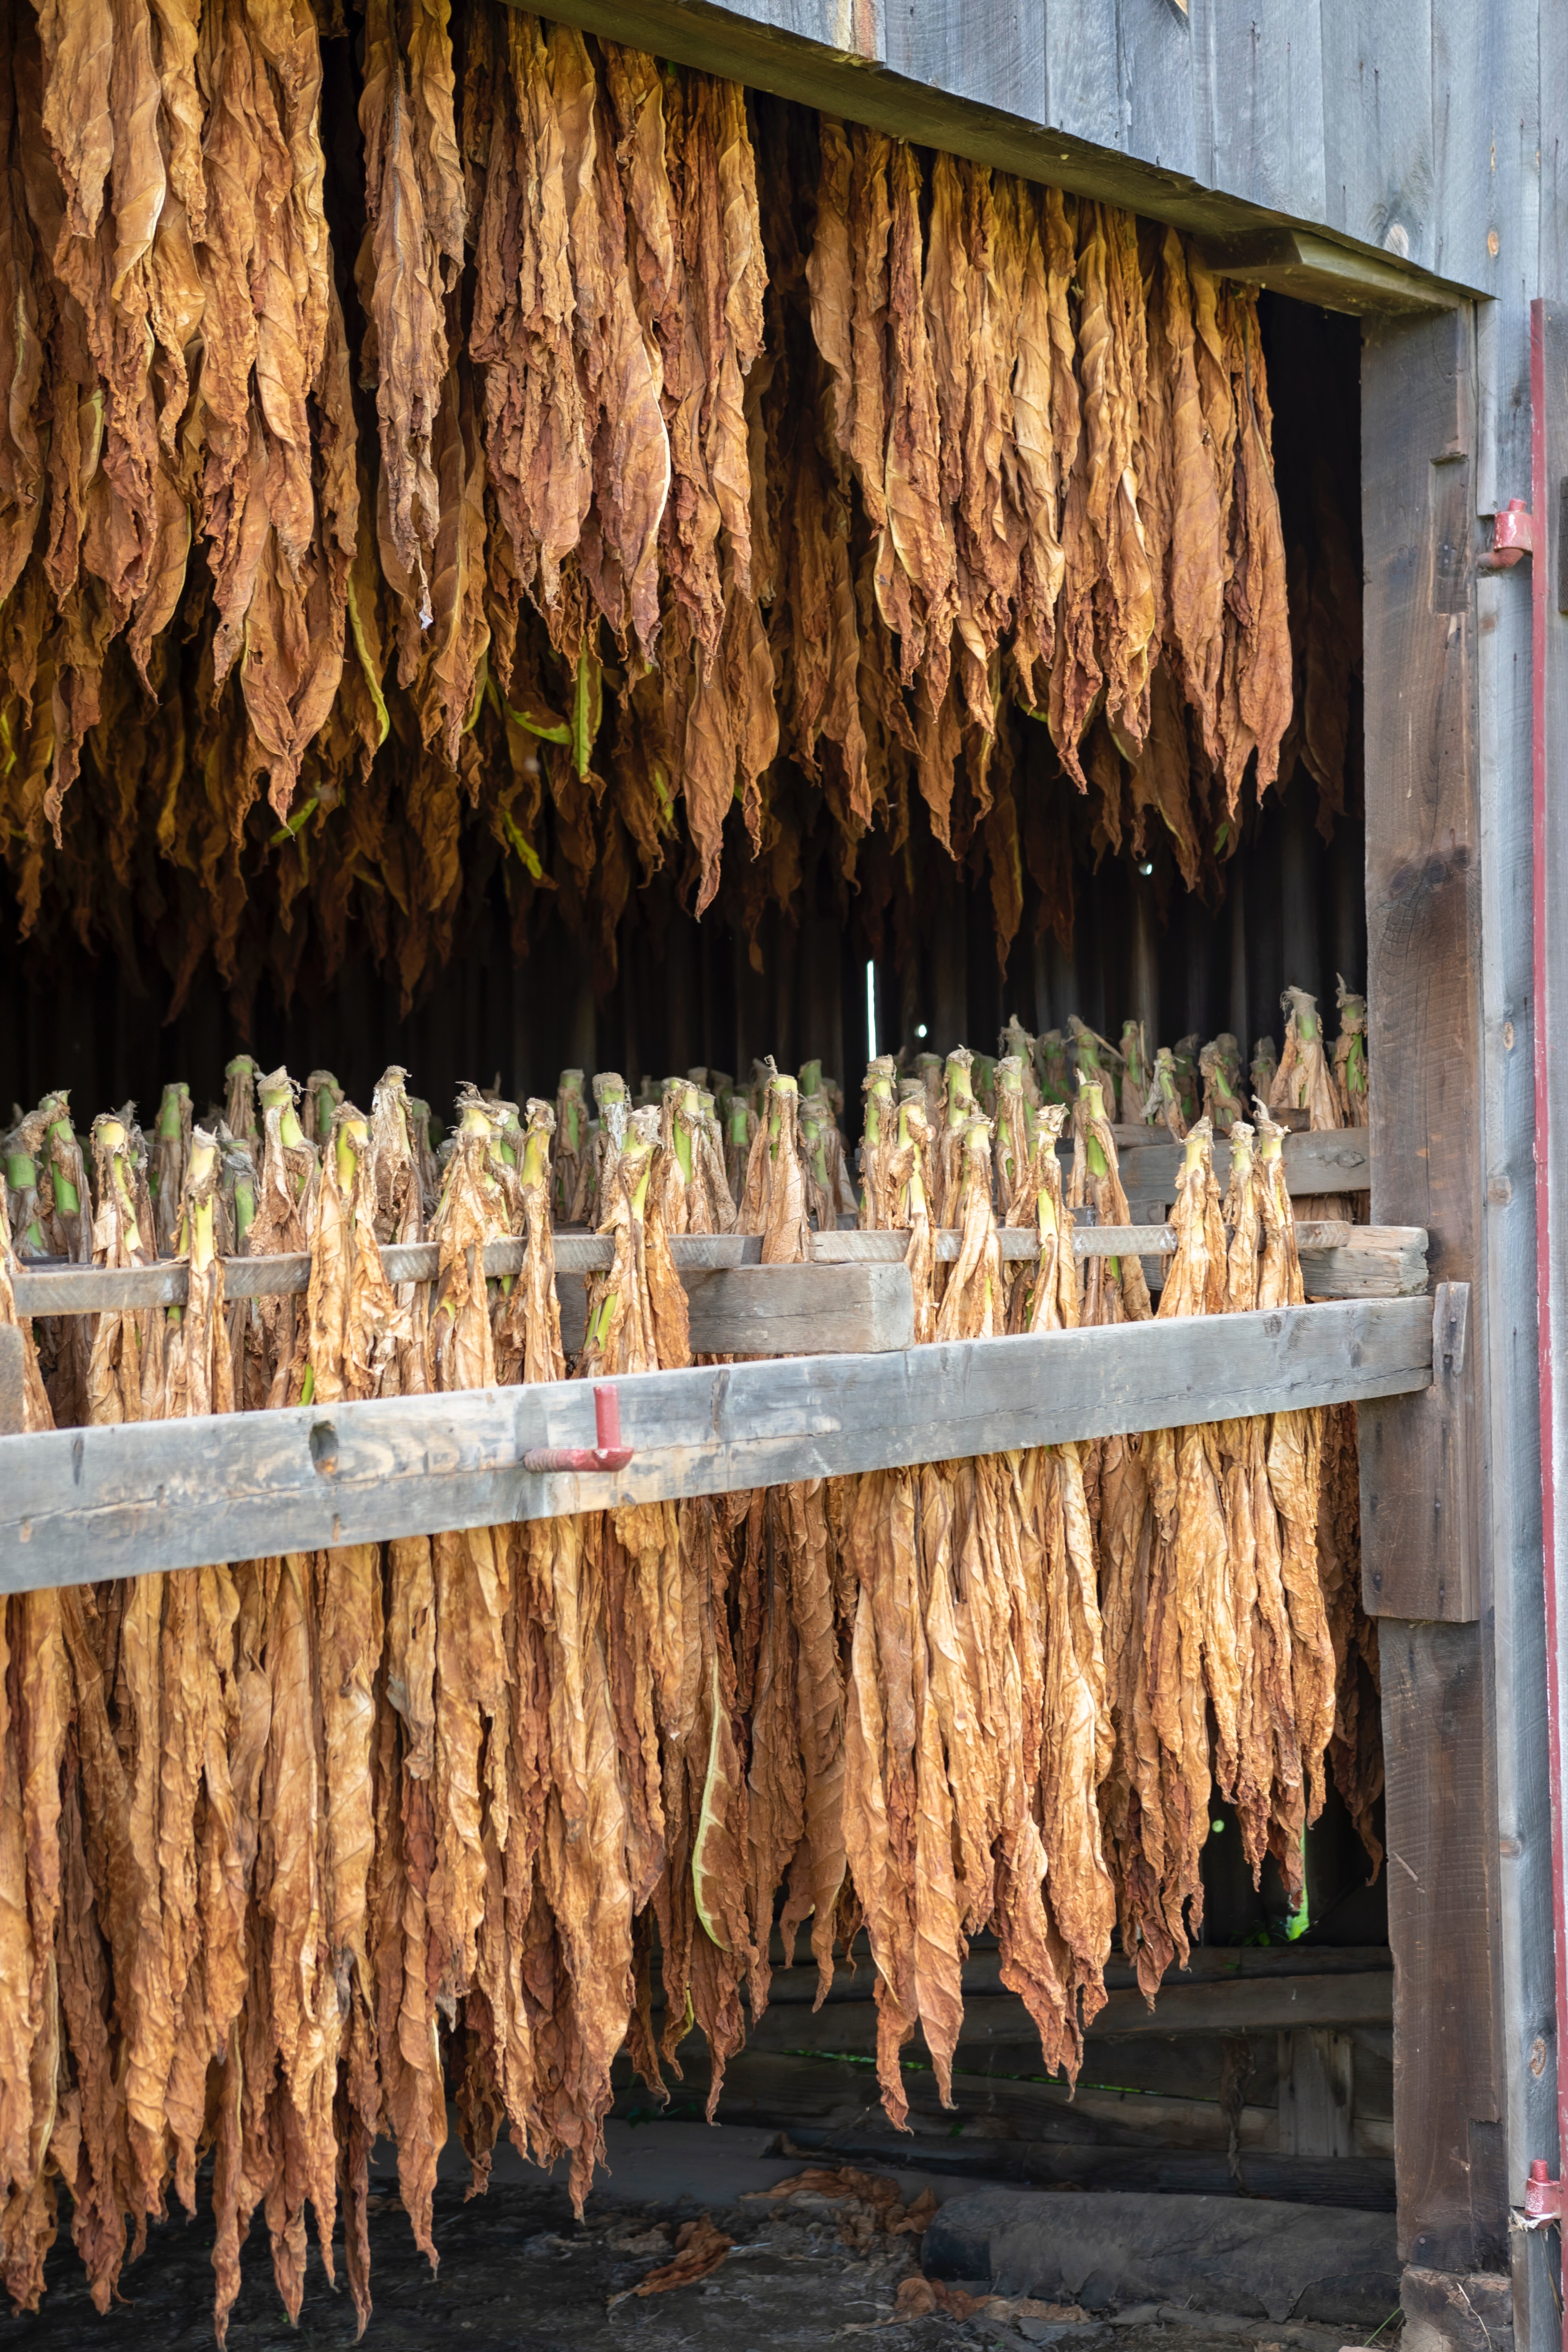
Dry Trim – Good Things Take Time
In contrast to wet trimming, with dry trimming the plants are trimmed after they have been fully dried, but before they have gone through the curing process. The herbs are dried including the leaves, so you need to give them a bit more time. Time that pays off, though! Because the slower drying allows the plant compounds to develop optimally, resulting in stronger flavors and aromas compared to wet trimming. And on top of that, the plants become denser and more compact.
Keep in mind that you'll need to plan for more space in the drying room with this method. Additionally, trimming the already dried plants requires more finesse. Your friends are more brittle and delicate at this point and can be easily damaged.
Fill your herbs into airtight containers for storage and curing, and store them in a cool, dry place. The opaque containers from Tight Vac also protect your plants from light exposure, keeping the plant compounds at their full potency.